5.11 Print Shipment Labels: Difference between revisions
Jump to navigation
Jump to search
No edit summary |
No edit summary |
||
| Line 18: | Line 18: | ||
* Go to 'Change the Outbound Delivery" thru transaction VL02N | * Go to 'Change the Outbound Delivery" thru transaction VL02N | ||
* Enter the Outbuond Delivery number and press enter | * Enter the Outbuond Delivery number and press enter | ||
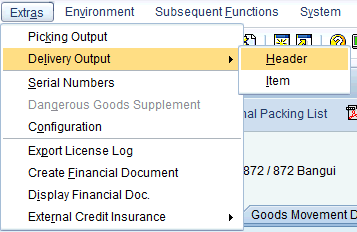
* Go to 'Extras > Delivery Output > Header': | * Go to ''Extras > Delivery Output > Header'': | ||
[[File:Printlabel.png]] | [[File:Printlabel.png]] | ||
| Line 53: | Line 53: | ||
[[File:Printlabel7.png]] | [[File:Printlabel7.png]] | ||
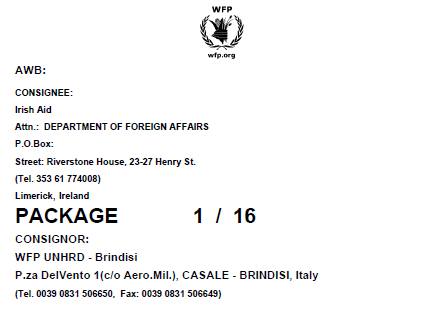
An example of | An example of an Outbound Label is illustrated below: | ||
[[File:Printlabel8.png]] | [[File:Printlabel8.png]] | ||
Latest revision as of 14:39, 12 February 2014
| Print Shipment Labels | |
| Performer: | Logistics |
| Role: | Logistics Aassistant |
| Transaction : | |
When cargo is ready to be packed or loaded at the dispatching area of the warehouse, to print the labels from WINGS follow the instructions below:
- Go to 'Change the Outbound Delivery" thru transaction VL02N
- Enter the Outbuond Delivery number and press enter
- Go to Extras > Delivery Output > Header:
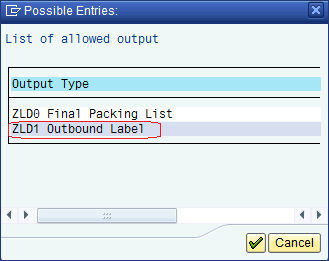
- Select "ZLD1" for "Outbound Label" from the List of allowed output:
- Enter "EN" in the Language field:
- Click on "Communication method":
- Select the preferred WINGS printer from the menu and click on
 and go back by clicking on
  .
. - Click on "Further data":
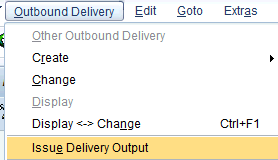
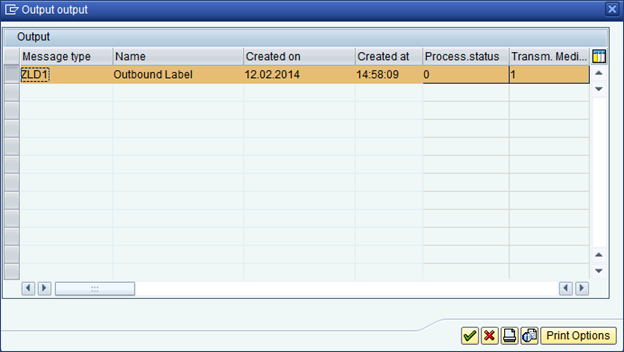
- Go to 'Outbound Delivery > Issue Delivery Output':
An example of an Outbound Label is illustrated below:
